
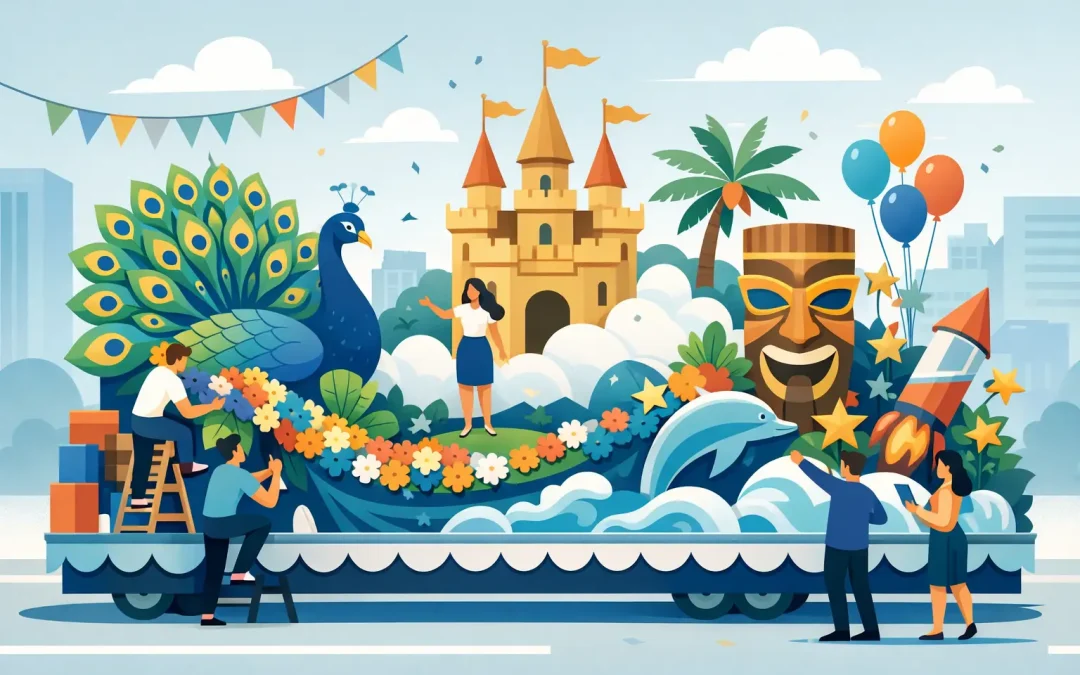
A parade crowd sees your float in seconds, often from across a street and between rows of people. That is why the best float decoration ideas are not just about adding more material. They use big color blocks, clear shapes, texture, and lettering that can be understood at a glance.
Whether your group is building its first homecoming float or planning a major holiday parade entry, start with the message you want people to remember. A well-built float does not need a complicated design to make an impression. It needs a focal point, dependable coverage, and decorations sized for parade viewing rather than close-up viewing.
Start With One Big Parade-Float Idea
The easiest way to lose time is to begin decorating before the theme is settled. Pick one central image or message, then let every color and material support it. For example, a patriotic float may center on a large eagle, flag, or hometown tribute. A school float could feature a mascot, graduating seniors, or a team slogan. A Christmas entry might be built around a toy shop, snowy village, or oversized wrapped present.
Keep the main image large enough to read from the sidewalk. Small handmade details can be charming, but they should not carry the whole design. If the crowd cannot recognize your theme until the float is directly in front of them, simplify it.
Choose two or three primary colors and one accent color before ordering materials. This helps volunteers make decisions quickly and prevents the finished float from looking pieced together. Color also does practical work: dark fringe can define an outline, metallic accents can catch sunlight, and a lighter background can make lettering easier to read.
Float Decoration Ideas for Strong Base Coverage
The float base is not an afterthought. It is the large visual foundation that makes your theme look intentional instead of like decorations attached to a trailer. Cover rails, trailer sides, exposed framework, and other areas that do not belong in the finished scene.
1. Create a Fringe Skirt That Matches the Theme
Two-ply fringe is a dependable choice for trailer skirts because it creates movement as the float travels. Use solid colors for a clean look, or layer colors to create stripes, school colors, waves, grass, flames, or a Mardi Gras effect.
Measure each visible side of the trailer before you start. Add a little extra for corners, overlaps, and any areas that may need repair on parade morning. It is much easier to trim excess material than to stretch fringe across a section that comes up short.
2. Turn Floral Sheeting Into a Full-Color Backdrop
Floral sheeting gives large areas rich texture and hides the hard lines of plywood, fencing, and float framing. It works especially well for backgrounds, side panels, wall surfaces, and scenic elements. Green can become grass, a hedge, or a forest floor. White can suggest snow or clouds. Blue makes a useful sky, water, or winter backdrop.
For a polished finish, pull the material evenly and fasten it securely along the top edge first. Then work downward, smoothing as you go. Loose covering can sag or tear in wind, especially on an open parade route.
3. Use Petal Paper for Soft, Textured Shapes
Petal paper is useful when a smooth flat surface would look unfinished. Use it to cover large cardboard props, create flowers, add feathered edges to clouds, or build colorful panels behind a centerpiece.
Build a Focal Point That Can Be Seen From the Curb
Once the base is covered, build the one element that tells the story. A large three-dimensional prop usually does more for a float than dozens of small decorations. Think oversized rather than overly detailed.
A sports team can build a giant football, basketball hoop, trophy, or mascot head. A church group might create a large dove, open Bible, ark, or nativity silhouette. Civic groups can feature a landmark, historical symbol, or a big birthday cake for a community anniversary. Use lightweight framing and foam-core or cardboard shapes where possible, then cover them with floral sheeting, petal paper, fringe, or glitter accents.
Keep tall decorations stable and within your parade’s height rules. A prop that looks impressive in a parking lot can become a problem near traffic lights, tree limbs, and overhead wires. Consider the route before you decide how high to build.
15 Practical Float Decoration Ideas
Here are several themes and details that work well because they read quickly, use readily available float materials, and can be adapted to many parade budgets:
- A school spirit tunnel: Cover the float in school-color fringe and add a large foam-core mascot or jersey number at the center.
- A garden in bloom: Build oversized flowers from petal paper, add green floral sheeting for leaves, and use pomps for flower centers.
- A winter wonderland: Use white floral covering for snow banks, silver glitter for sparkle, and blue fringe along the base.
- A patriotic hometown tribute: Combine red, white, and blue fringe with stars, flag-inspired panels, and bold community lettering.
- A Mardi Gras celebration: Layer purple, green, and gold fringe, then add masks, crowns, beads, and plenty of glitter.
- A holiday toy shop: Make oversized gift boxes, a toy train, or a giant teddy bear, with bright fringe and festoon garland around the edges.
- A farm scene: Create a red barn wall, covered hay bales, large sunflowers, and animal silhouettes for a local, family-friendly theme.
- An underwater adventure: Use blue floral sheeting, flowing fringe for waves, and large fish, coral, or a friendly sea creature.
- A space mission: Create a rocket from lightweight forms, use dark covering as the sky, and scatter glittering stars around it.
- A movie night float: Make a large popcorn box, film reel, or ticket booth, then use a bold slogan that names your group.
- A candy land scene: Brightly colored swirls, lollipops, gumdrops, and a giant candy-cane arch make this theme easy to spot.
- A construction zone: Use black-and-yellow colors, oversized tools, cones, and a message about building a better community.
- A decades theme: Let each side represent a different era through colors, music symbols, and easy-to-recognize shapes.
- A beach party: Blue fringe waves, tropical flowers, surfboards, and a large sun give a warm-weather event plenty of energy.
- A gratitude float: Use a large “Thank You” message surrounded by symbols representing teachers, veterans, first responders, or community volunteers.
Make Lettering Large, Simple, and High Contrast
Lettering is often the last thing added, but it should be planned near the beginning. Your float may have a wonderful theme, yet people will miss the group name or message if the letters are too small, too thin, or too close in color to the background.
Use short wording whenever possible. A team name, event slogan, or three-word message can usually be read much better than a full sentence. Foam-core letters provide clean, bold shapes and save volunteers from trying to hand-cut every character at the last minute.
For the best visibility, place light letters on a dark background or dark letters on a light background. Add a fringe or floral-sheeting border behind the words if the background is busy. Before final attachment, stand 25 to 30 feet away. If someone cannot read the message immediately, increase the letter size or improve the contrast.
Add Movement Without Creating Problems
Parades are moving events, so decorations that flutter, bounce, or sparkle can make a float feel alive. Fringe, festoon/garland, deco puffs/pomps, ribbons, and glitter all add energy. The trade-off is that every loose or lightweight item must be attached for wind and vehicle movement.
Save delicate details for protected areas of the float. Secure larger decorations with more than one attachment point. Avoid placing anything where it can drag near wheels, block the driver’s view, or interfere with riders getting on and off. If your parade may bring rain, use materials and fastening methods that can handle moisture rather than relying on ordinary paper decorations alone.
Plan Materials Before the Volunteer Workday
A good design can still become stressful if the group runs out of one key color halfway through construction. Make a simple sketch showing each side of the float, the main props, lettering, and color placement. Then measure the surfaces that need coverage and order with room for corners, overlaps, mistakes, and last-minute additions.
Assign jobs by task instead of asking everyone to decorate wherever they see an opening. One team can cover the base, another can build props, and another can prepare lettering and finishing details. This keeps the design consistent and lets volunteers work at the same time.
For time-sensitive builds, reliable materials and real design help matter as much as a good concept. ParadeFloatStuff.com has supported float builders for decades, with knowledgeable staff ready to help groups think through coverage, colors, quantities, and the practical details that can make or break parade week.
The float people remember is rarely the one with the most decorations. It is the one with a clear idea, a strong color story, secure construction, and a message everyone can see before it rolls past.