
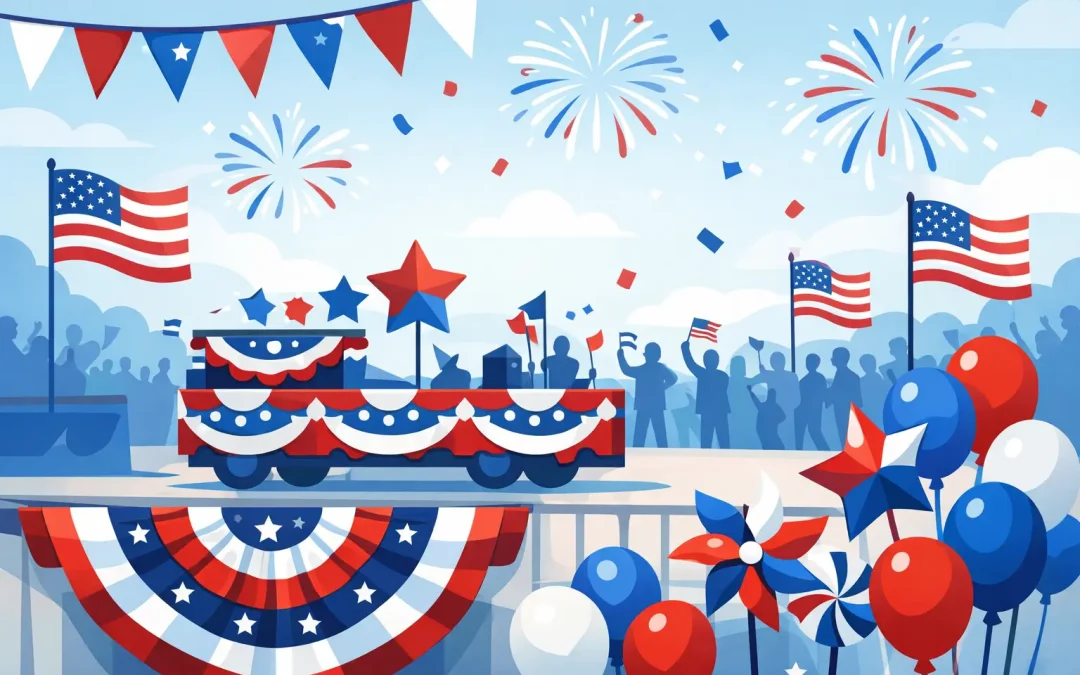
A parade float can look wonderful in the garage and still disappear once it reaches the street. Patriotic parade decorations need bold color, enough texture to read from the curb, and secure construction that can handle wind, turns, summer heat, and a few hours of volunteer traffic. The good news is that a red, white, and blue design does not need to be complicated to make a strong impression.
The best patriotic floats usually start with one clear idea: a giant flag, a hometown salute, a military tribute, a star-spangled stage, or a celebration of local service members and first responders. From there, choose materials that support that idea instead of trying to use every patriotic symbol at once. A float with a clean focal point and full, well-finished sides will generally look better than one covered in small decorations that cannot be seen from the parade route.
Start With a Design People Can Read
Before ordering material or cutting a single panel, stand back and think about what spectators will see in three seconds. Most people view a moving float from 20 to 50 feet away. That means the biggest shapes, strongest color blocks, and tallest lettering do the real work.
Choose a focal point for each visible side of the float. It may be a large foam-core star, a flag-inspired backdrop, an eagle silhouette, or the name of your school, church, organization, or community. Keep the message short. A phrase such as “Land of the Free,” “Hometown Heroes,” or “United We Stand” is easier to read than a full sentence.
Lettering should be large enough to be read at parade distance and should contrast sharply with the background. White letters on royal blue, blue letters on white, and red letters on white are dependable choices. If the base of the float is busy with fringe or floral sheeting, mount letters on a solid panel so they do not get lost in the texture.
Height matters, too. A tall central feature gives the float a silhouette that stands out above parked cars and spectators. Build upward only after considering local parade rules, low tree limbs, power lines, and the stability of the vehicle or trailer. A lower, wider design is often the wiser choice when wind is expected.
Choose Materials by the Job They Need to Do
Patriotic float materials are not interchangeable. The right choice depends on whether you are covering a large surface, outlining an edge, filling empty space, or creating a featured shape.
Floral sheeting are workhorses for broad float coverage. They add dense color and a classic parade-float look, making them especially useful for trailer sides, truck beds, signs, and platforms. Use larger areas of blue or red as your base, then layer white stars, stripes, or lettering over the top. This approach is easier to build and more visible than trying to create many tiny details.
Two-ply fringe is a smart option for skirting the bottom edge of a float, concealing the trailer frame, and creating crisp bands of color. Red, white, and blue fringe can be installed in horizontal rows for a flag-inspired effect. Overlap rows slightly so gaps do not show when the float moves. Fringe looks best when it hangs freely, so keep it clear of tires, hitch equipment, exhaust areas, and any moving parts.
Festoon/garland works well along railings, signs, roofs, and edges that need definition. It can soften a boxy trailer and bring color to areas that would otherwise look unfinished. Deco puffs add fullness around corners, wheel wells, banner edges, and the base of large props. They are particularly helpful for volunteer-built floats because they fill space quickly without requiring precision cutting.
Glitter can make stars, signs, and special accents sparkle in the sun, but use it with restraint. A glittered focal point can catch the eye. Too much glitter across the entire float can compete with your message and create extra cleanup. It is usually most effective on lettering, star centers, outlines, or a single large prop.
Build a Color Plan Before You Buy
Red, white, and blue may sound simple, but a loose color plan can make the float look patchy. Decide first which color will dominate. A blue base with white stars and red accents reads differently from a mostly white float with red-and-blue trim. Either can work, but the finished design should look intentional.
For a traditional flag-inspired design, use blue in one defined field rather than scattering it everywhere. Place a large blue panel toward the front, side, or back of the float, then add white stars. Run red and white stripes across a broad side panel or beneath the blue field. This gives a familiar visual reference without needing to reproduce a flag exactly.
If your parade honors veterans, active-duty military members, or first responders, allow the tribute message to lead the color plan. A navy or royal-blue background can make white lettering and gold or silver accent details stand out. For a children’s group, brighter red and blue materials, oversized stars, and puffy trim often create a more cheerful look.
Avoid placing red letters directly on a blue-and-red patterned background. At a distance, the colors can blend together. White is often the best buffer between strong colors. A white border around letters, signs, or a star panel makes the entire design easier to read.
Make the Float Look Finished From Every Angle
The parade crowd sees more than the main side. They notice exposed wood, bare trailer rails, loose ties, unfinished corners, and decoration that ends halfway around the vehicle. A polished float does not need expensive props, but it does need coverage where people can see it.
Start by measuring the length and height of every side that will face spectators. Measure the front and rear, too, especially if the parade route includes turns or staging areas where people gather around the vehicle. Add a little extra material for overlap, wrapping corners, and repairs. It is much easier to trim excess fringe or sheeting than to discover you are one strip short on parade morning.
Pay attention to these four finish points as you build:
- Cover the float skirt low enough to hide the trailer structure without touching the ground.
- Wrap or trim corners so the design looks continuous instead of like separate panels.
- Repeat a color or shape on the front and back to tie the whole float together.
- Check for gaps from across the street, not just from arm’s length.
A simple walk-around inspection is worth the time. Ask one volunteer to stand at curb distance while another checks the float. What looks balanced from nearby may reveal an empty spot, crooked sign, or weak color contrast from farther away.
Secure Decorations for the Real Parade Day
Wind is the reason many good float ideas need a second look. Lightweight stars, flags, paper details, and tall props should be attached at several points, not just at the top. Reinforce large panels with a backing or frame, and keep adhesive, fasteners, scissors, spare fringe, and extra ties in a repair kit.
Use construction methods that fit the surface. Plastic rolls can help protect areas or create smooth colored backgrounds, while floral sheeting, fringe, and garland can be layered over them. Foam-core letters and shapes need firm mounting so they do not bend or flap. If you are attaching decorations to a truck or trailer, make sure no fastening method interferes with safe operation, visibility, lights, driver access, or required markings.
It also helps to plan for weather. Heat can affect some adhesives, rain can add weight to paper-based materials, and a breezy day can pull at unsecured edges. When conditions are uncertain, favor fuller but lower designs, reinforce seams, and avoid props that act like sails. A float that survives the route looking neat is better than an elaborate piece that needs constant repairs.
Order Early, Then Use Experienced Help When Needed
Parade projects have a habit of becoming urgent. A committee approves the theme late, a trailer measurement changes, or another group joins the entry a week before the event. Ordering early gives you more room to test colors, build props, and replace anything that does not fit your plan.
Still, you do not have to figure out every material quantity alone. ParadeFloatStuff.com has been helping builders create floats since 1936, with American-made parade materials, factory-direct pricing, and knowledgeable people who understand the difference between a small school entry and a large community project. When timing is tight, clear measurements and a simple sketch can make it much easier to get practical guidance on coverage, trim, lettering, and quantities.
For time-sensitive projects, confirm what must be completed first. The float skirt, main background, focal sign, and large props should be your priorities. Smaller embellishments can be added later if time allows. This keeps the float parade-ready even if the final decorating session gets shorter than planned.
A patriotic float does not have to be the biggest entry to earn applause. Give it a message people can read, colors they recognize immediately, and details that stay in place from lineup to the final turn. That is the kind of parade decoration people remember long after the red, white, and blue has passed by.