
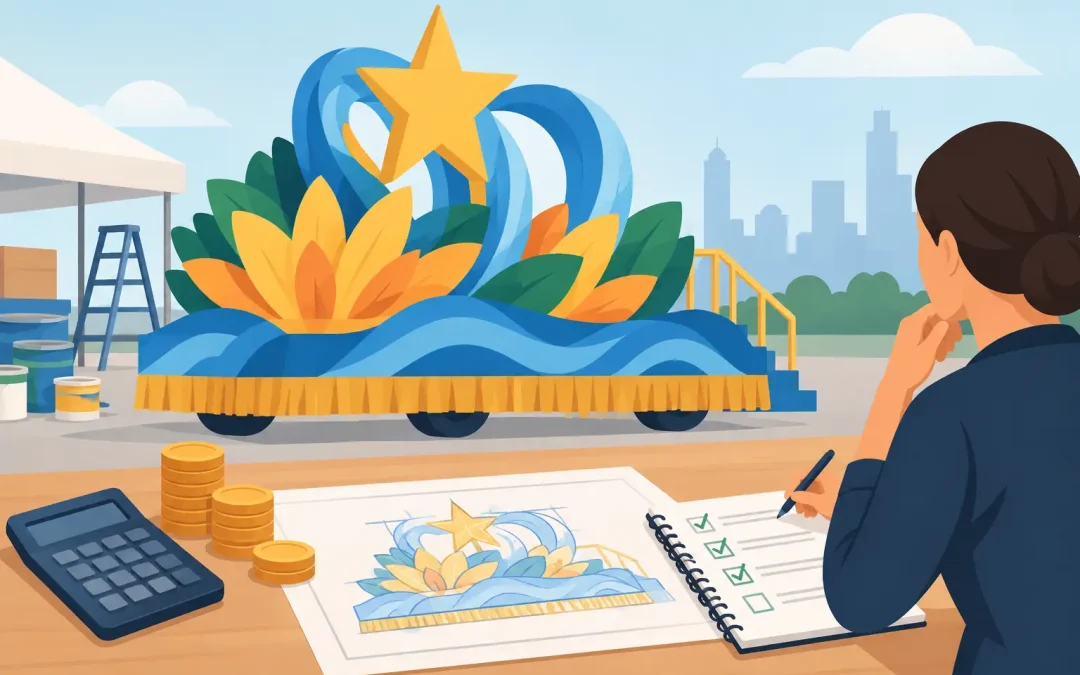
A float can look like a million dollars without costing anywhere close to it. The trouble starts when a group buys decorations one piece at a time, changes the design halfway through, or discovers two days before the parade that it still needs letters, covering, and a way to hide the trailer wheels. This parade float budget planning guide gives you a practical way to price the project before the work begins, protect your must-have design elements, and avoid last-minute spending.
Start With the Float, Not the Decorations
The most accurate budget begins with the actual surface you need to cover. Before choosing colors or themes, measure the trailer or vehicle bed: length, width, side height, front, rear, wheel areas, rails, and any structure you plan to build above it. Take pictures from all four sides. A simple sketch with measurements is enough to prevent many ordering mistakes.
Then decide what viewers will see from the parade route. Most crowds see the sides first, then the front and back as the float passes. If funds are limited, put more of the budget into the two long sides and the focal point. The top of a float may be visible from a distance, but it does not always need the same dense decoration as the route-facing surfaces.
A pickup truck with a trailer is a different project from a 24-foot flatbed with a built-up scene. The larger float does not just need more sheeting. It may need more fringe, more fastening supplies, more support materials, and more labor. Measure first, then price the design around those measurements.
Build Your Parade Float Budget in Categories
Separating costs into categories makes it much easier to see where the money is going. It also helps a committee approve the project without getting lost in individual item prices. A useful working budget includes these five areas:
- Base covering, such as floral sheeting, plastic rolls, fringe, or festoon
- Focal decorations, including lettering, themed shapes, glitter, pomps, and special trim
- Construction and attachment supplies, such as staples, wire, zip ties, tape, foam board, and support lumber
- Transportation and parade-day needs, including fuel, trailer preparation, signage, and batteries if applicable
- A contingency fund for replacements, measurement errors, weather damage, or a late design change
For many groups, the largest material expense is the base covering. That is normal. A polished base gives every other decoration a place to work. It also hides the trailer, protects the look of the design from a distance, and keeps the float from looking unfinished when viewed from the side.
Set aside a contingency of about 10% to 15% of the material budget. A simple float with dependable measurements may need less. A detailed float, a first-time build, or a project being assembled outdoors deserves more room. This is not wasted money. It keeps one missing roll or damaged letter from turning into a parade-week emergency.
Use a Must-Have, Nice-to-Have Approach
Every good float has a few features that make the theme instantly clear. A school mascot, a church message, a patriotic color story, or a holiday centerpiece may be the part people remember. Fund those pieces first.
After that, list the upgrades that would be nice to add if the budget allows. Extra glitter accents, additional pomps, layered trim, and more elaborate background details can add plenty of visual interest, but they should not come at the expense of fully covering the float or finishing the lettering. A clean, complete float usually makes a stronger impression than a half-finished elaborate one.
This approach also gives your group an easy decision point. If donations come in late or a sponsor increases its support, add from the nice-to-have list. If money gets tight, protect the base and focal point without having to redesign the whole project.
Price Materials by Coverage and Visual Impact
The lowest price per package is not always the lowest project cost. Compare products by how much area they cover, how they attach, how well they hold up outdoors, and whether they create the visual effect you need. A material that saves installation time or covers a large area cleanly may be the better value even when its package price is higher.
For example, floral sheeting can give a float a full, textured finish across broad surfaces. Two-ply fringe works well for edging, skirting, color bands, and movement. Festoon and garland can outline a design or add dimension around signs and structures. Plastic rolls are often useful for quick color coverage and weather-conscious applications. Each has a different job, so avoid buying one material and expecting it to solve every design need.
Lettering deserves its own line in the budget. Words are often the focal point, especially for schools, churches, civic groups, and sponsor recognition. Count every letter, space the message on paper first, and make sure the size can be read from the street. Buying letters at the end of the project can force you to shrink the message or settle for colors that do not match the design.
If you need to lower the cost, reduce the number of colors before reducing coverage. Two or three coordinated colors can look intentional and festive. Too many colors can require extra materials, more cutting, and more labor without making the float easier to read.
Account for Labor Before You Promise a Big Design
Volunteer labor is generous, but it is not unlimited. A budget should reflect the time your group actually has, especially when teachers, parents, students, church members, or committee volunteers are building after work and on weekends.
Ask three practical questions: Who is building it, where will they build it, and how many hours do they truly have? A design with layered panels, hand-cut details, and hundreds of individual accents can be wonderful when an experienced crew has several work sessions. It can also become frustrating when four volunteers are trying to finish in one evening.
Choose materials that match your crew’s skill level. Large-area coverings and repeatable trim can move quickly. Detailed foam-core shapes and special effects are best saved for the focal point, where the effort will be visible. Pre-cutting letters, sorting materials by float section, and assigning one person to check measurements can save more money than a small discount on supplies.
Do not forget the cost of a build location. If the float is assembled at an off-site barn, school lot, or community building, confirm access times, lighting, power, cleanup rules, and whether the finished float can stay there overnight. Having to move an unfinished float can damage decorations and add costs you did not plan for.
Plan for Weather, Safety, and the Parade Route
A float budget is also a risk plan. Rain, wind, low branches, sharp turns, and highway travel to the lineup can all affect what materials you choose and how much backup you need. A decoration that looks perfect in a gym may need stronger attachment once the float is moving down the road.
Budget for fasteners and reinforcement rather than treating them as leftovers. Secure covering at edges and corners, keep signs from flexing, and make sure nothing blocks the driver’s view or creates a hazard for riders. If the parade has height, width, generator, or fire-safety rules, design around them early. Rebuilding a piece after a route inspection is far more expensive than confirming the requirements at the beginning.
For outdoor parades, have a small repair kit ready on parade day. Extra fringe, tape, zip ties, staples, scissors, and a few matching decorations can solve a loose edge or missing accent in minutes. That kit is modest compared with the overall budget, but it can protect hours of work.
Order Early, Then Protect Your Timeline
Once you know the measurements and have approved the design, place the main material order early enough to inspect everything before the build date. This leaves time to check colors, count pieces, and reorder anything that was measured incorrectly. It also gives volunteers a firm target for construction days.
It depends on the parade date, your location, and the size of the order, but waiting until the final week usually removes your best options. Rush shipping can raise the total, and substitute materials can compromise a carefully planned color scheme. ParadeFloatStuff.com offers same-day shipping before 2:30 PM Eastern on qualifying in-stock orders, but early planning is still the easiest way to keep costs predictable.
If your organization uses a purchase order or needs approval from several people, start that process before you are ready to buy. A good design can stall when the materials list is waiting for one signature. Keep a final order sheet with quantities, colors, dimensions, and the name of the person responsible for receiving the shipment.
Make the Budget Easy to Defend
When you present the budget to a booster club, festival committee, school administrator, or church team, explain what the spending accomplishes. Show the base coverage, the focal message, the safety supplies, and the contingency separately. People are more comfortable approving a budget when they can see that the money is going toward a float that will be visible, durable, and ready on parade day.
The best float budget is not the smallest number on paper. It is the amount that lets your group finish a clear, well-covered, securely built float without asking volunteers to rescue the project at the last minute. Start with sound measurements, spend first on what the crowd will notice, and leave yourself enough breathing room to enjoy the parade when it finally rolls by.