
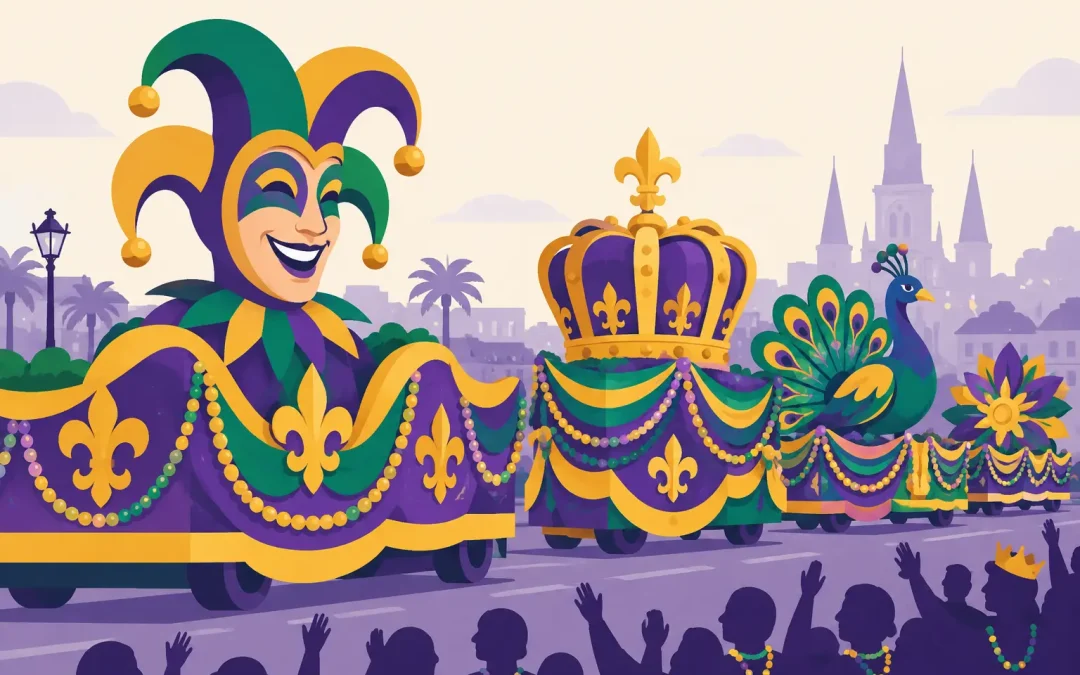
A good Mardi Gras float has to read from the curb, not just look nice up close. The best Mardi Gras float design examples use big shapes, strong color blocking, and decorations that keep their visual punch as the float moves down the street. For volunteer crews working on a deadline, that is welcome news: you do not need a complicated sculpture to create a memorable entry.
Start with the parade’s rules, the size of your trailer, and the number of people who will ride or walk beside it. Then choose one clear idea and repeat it generously. Purple, green, and gold are the natural starting point, but the design needs a focal point that gives those colors a job to do.
1. The Classic King Cake Float
A king cake theme is friendly, instantly recognizable, and especially useful for schools, churches, and neighborhood groups. Build the float around an oversized oval cake shape, or create a flat cake display along the trailer rails. Use broad bands of purple, green, and gold floral sheeting or plastic covering to suggest icing, then add oversized “sprinkles” made from deco puffs, pomps, or cut shapes.
The small plastic baby can be the funny centerpiece, but make it large enough to see. A foam-core baby silhouette, a decorated chair, or a crowned rider in the middle of the float makes the theme legible from a distance. Keep the side panels simple. A scalloped icing border in fringe or festoon is more effective than dozens of tiny details.
2. Royal Court and Crown Design
When a group wants a traditional Mardi Gras look without building a themed scene, a royal court design is a reliable choice. Place a large crown on a raised center platform, frame it with columns or arches, and use king and queen riders as the main attraction. This approach works well for festival royalty, school courts, and civic organizations because it gives participants a natural place to stand.
Cover the trailer skirt in alternating purple, green, and gold panels. Add metallic fringe around the lower edge so the float has movement, then use gold festoon to outline the crown and platform. A few large fleur-de-lis shapes on the sides will carry the message better than a crowded collage of small masks and beads.
The trade-off is that crowns and arches need a stable frame. If your crew has limited construction time, make the crown from lightweight foam-core or corrugated material, reinforce it well, and let the covering materials provide the finished look.
3. Masked Ball Float
A masked ball gives you plenty of color and drama while leaving room for your own personality. Picture a large masquerade mask across the front or side of the float, with swirls, feathers, and glittering color around it. It can feel elegant for an adult gala parade or playful for a youth group depending on the shapes and colors you choose.
For a clean build, use one oversized mask as the centerpiece instead of trying to attach many store-bought masks everywhere. Cut the shape from foam-core, cover it in floral sheeting, and add contrasting trim around the eye openings. Deco puffs create a feather-like effect without the mess and fragility of real feathers.
Use a dark background, such as black or deep purple, when you want the green and gold to stand out. A lighter white or gold base is often easier for daytime parades. Glitter is best used as an accent on the mask, lettering, or trim. Covering every surface in glitter may sound festive, but it can hide the design rather than improve it.
4. New Orleans Jazz Band Float
A jazz-band design brings motion to a float before the music even starts. Giant trumpets, saxophones, music notes, and a marching-band-style backdrop work particularly well for school music programs, alumni groups, and community bands. If you have live musicians riding, give them secure, uncluttered space first. The decorations should frame the performers, not compete with them.
Create one or two oversized instruments for the side panels and repeat music notes along the trailer skirt. Gold shapes against purple or black backing create strong contrast. Green fringe, gold festoon, and purple floral sheeting can define the edges and soften the construction materials underneath.
This theme is also forgiving. A simple trailer can look intentional when the color palette is consistent and the instruments are large. If sound equipment or instruments require extra room, concentrate the design on the front, rear, and outside rails rather than trying to fill the entire deck.
5. Fleur-de-Lis Garden Float
For a float that feels polished without requiring a lot of character construction, build around the fleur-de-lis. This symbol works beautifully as a repeated motif, and it is easy to scale from a small trailer to a large festival entry. A garden treatment adds depth: use floral sheeting for the base, then create layers of large flowers, curling vines, and fleur-de-lis shapes.
Choose a dominant color rather than giving equal space to every Mardi Gras shade. For example, a purple float with gold fleur-de-lis and green vine accents looks more organized than a surface divided into dozens of random patches. The same rule applies to lettering. Use a readable message in one bold color, then outline it with a contrasting trim.
This is one of the more economical Mardi Gras float design examples because floral material does much of the work. It covers trailer rails, hides wood and hardware, and creates a full appearance quickly. It also suits groups that need a float to look good from both sides without building a deep, complicated scene.
6. Mardi Gras Around the World
Schools, cultural organizations, and community groups can turn the parade into a learning opportunity with a “Mardi Gras Around the World” theme. Use the float to highlight carnival traditions, music, foods, or costumes from several places while keeping the overall palette tied together with purple, green, and gold.
The key is restraint. Select three regions or ideas, not ten. Divide the float into clear sections, such as Brazil-inspired carnival color, Venetian-style masks, and New Orleans jazz. Use a matching border along the bottom of the trailer so the sections still feel like one float. Large labels or foam-core signs can explain the theme, but make sure they can be read from the street.
This design depends on thoughtful research and respectful representation. Avoid turning cultural traditions into a pile of unrelated props. A few well-chosen, recognizable elements will look better and tell a clearer story.
7. Sports Team Mardi Gras Tailgate
A Mardi Gras tailgate float is a natural fit for booster clubs, youth leagues, colleges, and hometown teams. Blend team colors with Mardi Gras colors, or use purple, green, and gold as the trim palette around your usual uniforms and mascot. A giant football, baseball, basketball, or team logo gives the float a strong focal point.
Keep rider safety in mind if the float includes active players or young children. Build tall decorative pieces at the front or back, secure anything that could catch wind, and leave clear places to step on and off. Two-ply fringe is especially useful around the base because it adds color and movement without taking up floor space.
If the team colors clash with the traditional palette, do not force every color into every surface. Use your team colors as the main design and add a gold crown, green fringe, or purple lettering to establish the Mardi Gras connection.
8. Community Celebration Float
Sometimes the strongest concept is simply celebrating the people in your town. A community celebration float can feature a welcoming sign, local landmarks, organization logos, and riders from several groups. It is ideal when a chamber, church coalition, nonprofit, or civic club wants broad participation without choosing a narrow theme.
Give the float one unifying image, such as a giant crown over the town name, a parade gate, or a large “Let the Good Times Roll” sign. Then place partner names or smaller features around that center. Use durable, high-contrast lettering so sponsors and organizations are visible without making the float look like a bulletin board.
Build for Distance, Weather, and the Clock
The difference between a good idea and a parade-ready float is usually planning. Measure the areas you plan to cover, including rails, side skirts, front panels, and any framework. Order extra material for overlaps, corners, and repairs. It is far easier to trim a little excess than to finish a large panel with a bare gap.
Think in layers. Start with the base covering, add a border of fringe or festoon, install the large focal shapes, and finish with lettering, pomps, glitter accents, and smaller details. This order keeps volunteers from decorating areas that later need to be covered or adjusted.
Wind, rain, and road vibration matter just as much as color. Secure every large piece to a solid structure, keep decorations away from wheels and exhaust, and check sightlines for the driver. If your float must travel any distance before staging, avoid tall pieces that cannot be braced or removed easily.
At ParadeFloatStuff.com, our family has been helping builders decorate parade floats for generations, so we know a last-minute material shortage can turn a fun project into a long night. Choose a design you can complete well, allow time for assembly, and let bold color, clean coverage, and one strong focal point do the heavy lifting.