
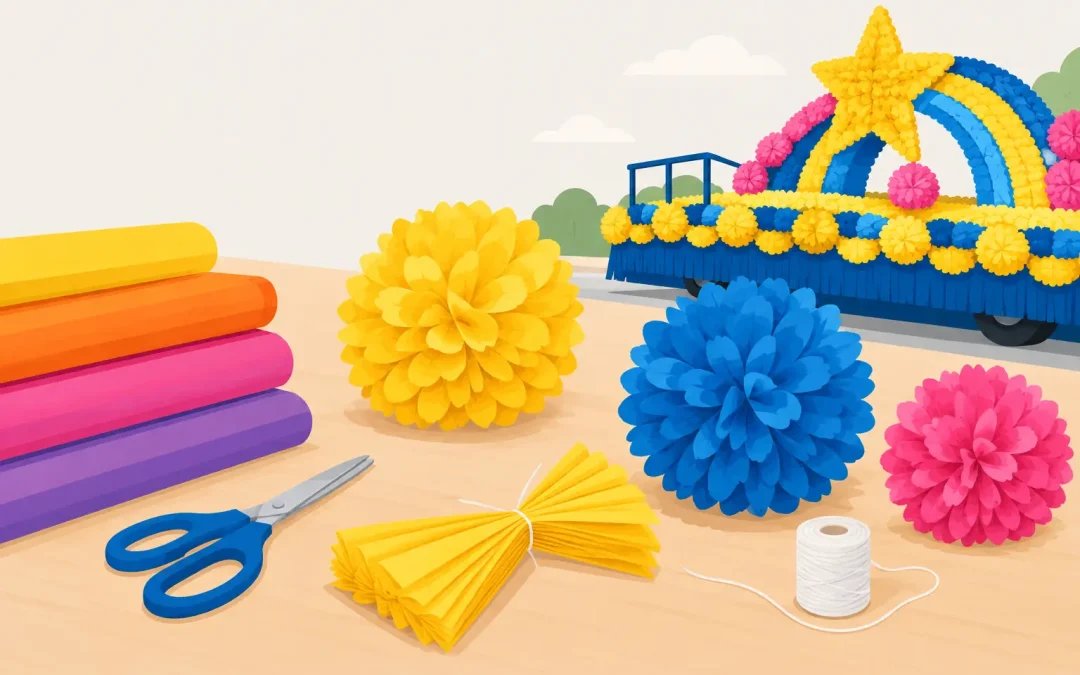
A float can have a great theme and still look unfinished if the base is flat, bare, or uneven. Deco puffs solve that problem quickly. Once you know how to make deco puffs, you can add color, dimension, and a full decorated look to float sides, railings, signs, and focal points without needing advanced decorating skills.
For most parade projects, the goal is not a perfectly identical puff every time. The goal is a full, consistent finish that looks good from the curb, holds together in motion, and can be installed before the lineup begins. A little variation is normal and often makes the finished float look more lively.
Start With the Right Material
Deco puffs are commonly made from lightweight floral sheeting or similar float-decoration material that can be gathered without adding much weight. Plastic floral sheeting is a practical choice for outdoor parades because it brings bright color, resists light moisture better than tissue, and holds its shape when properly secured.
Choose colors based on where the puffs will be used. A solid color is clean and bold for covering large float areas. Two colors layered together create more contrast, while a third accent color can make a mascot, holiday theme, or school color scheme stand out. Keep in mind that small color details can disappear from the sidewalk. Strong contrast reads better at parade distance.
Before starting, gather the materials you will use at the worktable:
- Floral sheeting in your selected colors
- Scissors or a utility cutter
- Twist ties, floral wire, or zip ties
- A ruler or measuring tape
- Gloves, especially when working with wire or cut materials
If several volunteers are helping, set up one person to cut pieces, one to tie centers, and one to fluff finished puffs. That assembly-line approach keeps sizes more consistent and prevents the last-minute scramble that is familiar to many float crews.
How to Make Deco Puffs Step by Step
Start by cutting equal squares or rectangles of floral sheeting. For a medium puff, pieces around 18 to 24 inches wide are a useful starting point. Larger pieces produce fuller puffs that work well on broad float panels, while smaller pieces are better for filling gaps, outlining signs, or decorating tighter spaces.
Use six to 10 layers for each puff. Fewer layers make a lighter, looser decoration. More layers create a denser puff, but they also use more material and take longer to separate. For a float that will be viewed from a distance, a fuller puff is usually worth the extra material.
Stack, Fold, and Secure the Center
Lay the cut pieces flat in a stack. If you are combining colors, alternate them as you stack. For example, a red-white-blue puff can use several layers of each color rather than putting all of one color on top. Alternating the layers helps every color show once the puff is opened.
Fold the stack back and forth in an accordion pattern, making folds about 1 1/2 to 2 inches wide. The folds do not have to be exact, but keep them reasonably even so the puff opens evenly on both sides.
Find the center of the folded bundle and fasten it tightly with a twist tie, floral wire, or zip tie. Leave a tail long enough to attach the puff to chicken wire, cardboard, foam board, a wooden frame, or another float surface. A loose center tie is the most common reason a puff comes apart, so tighten it before you begin fluffing.
Shape and Fluff the Puff
Trim both ends of the folded bundle into a rounded shape for a soft, traditional puff. For a more pointed, starburst look, cut the ends at an angle. Rounded edges generally work best when you need a field of puffs to look uniform across a large area.
Open one layer at a time, gently pulling it away from the center. Work from one side, then the other, spreading the layers in different directions until the puff looks full. Do not pull too hard. Floral sheeting can tear, particularly around a tight center tie or on a cold day when some materials become less flexible.
If a layer tears, do not throw away the whole puff. Tuck the torn section toward the center or place that side against the float. Once dozens of puffs are installed together, small imperfections are rarely noticeable from the parade route.
Choose a Size That Fits the Float
Puff size should match the scale of the area you are covering. Large puffs make fast work of a long trailer side, but they can swallow up lettering or compete with a detailed centerpiece. Smaller puffs give you more control around curves, wheel wells, windows, and signs, though they require more time to make and attach.
For a balanced design, use one main puff size across the background and reserve smaller or contrasting puffs for borders and accents. If you are covering a large side panel, make a few sample puffs first and tape them in place temporarily. Step back 20 to 30 feet. That quick test tells you whether the colors blend together, whether the puffs are dense enough, and whether your lettering remains readable.
Plan for more coverage than you think you need. Puffs look their best when they touch or slightly overlap. Gaps that seem small at the worktable can expose the base material once the float is moving down the street.
Attach Deco Puffs So They Stay Put
A pretty puff is only useful if it stays attached through turns, wind, loading, and unloading. Use the tie at the center of each puff as the anchor point. On chicken wire or mesh, twist the tie securely around the wire and tuck sharp wire ends inward. On cardboard, foam board, or wood, use a staple, screw, or small hole with a tie threaded through it, depending on the surface and the float’s construction.
Avoid relying on tape alone for outdoor attachment. Tape can be useful for positioning lightweight pieces, but changing temperatures, dust, moisture, and vibration can weaken the bond. For a high-wind route or a float traveling at road speed before the parade, add a second attachment point where practical.
Install puffs from the bottom upward on vertical surfaces. The upper row can overlap the row below it, hiding attachment points and helping create a fuller finish. On a flat float deck, attach them in a planned pattern rather than scattering them randomly, especially near signs, riders, or moving parts.
Keep puffs clear of tires, exhaust, trailer hitches, steps, and any place people need to stand or enter the float. Decorations should improve the presentation without creating a safety issue for drivers, riders, or volunteers.
Common Problems and Quick Fixes
When puffs look flat, the usual cause is too few layers or not enough separation during fluffing. Add a few more layers to the next batch, and take time to pull individual layers outward instead of opening them all in one motion.
When puffs look uneven, check the center tie. If it was placed off center, one side will naturally be larger. You can often correct the appearance by fluffing the shorter side more aggressively or placing the uneven side against the float.
When colors disappear, the issue is usually contrast. Dark blue against black or red against a similarly dark base may look strong up close but fade at parade distance. Add white, metallic material, or a brighter border color to separate the design.
When your schedule is tight, handmade puffs may not be the best use of volunteer time. Pre-made deco puffs can make sense for large projects, urgent orders, or crews that need to focus on construction, lettering, and final installation. It depends on your budget, available helpers, and how many pieces you need.
A few practice puffs before the full work session can save a lot of material and frustration. If you need help matching colors, estimating coverage, or choosing supplies for a parade deadline, the experienced team at ParadeFloatStuff.com is ready to help you put together a float that looks full, festive, and ready for the route.