
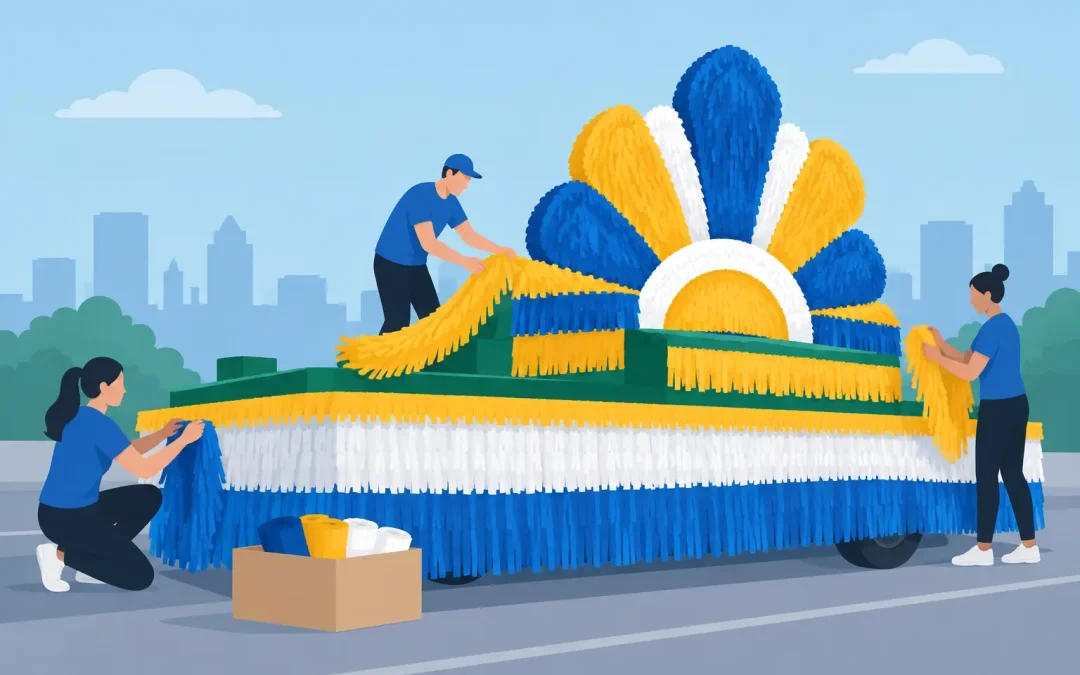
A parade float can have a great theme, bold lettering, and a hardworking crew behind it, yet still look unfinished if the trailer frame, plywood edges, or construction materials show through. Float fringe solves that problem quickly. It creates a full, colorful skirt around the base of the float while giving your design a neat, professional appearance from the curb.
For first-time builders, fringe is one of the easiest materials to work with because it covers a lot of space without complicated cutting or shaping. For experienced decorators, it is the dependable finishing layer that makes the whole float look intentional. The key is choosing enough material, attaching it securely, and layering it so the float still looks full after the ride down the parade route.
What Is Float Fringe Used For?
Float fringe is a decorative, cut plastic material designed to cover the sides and lower edges of parade floats. It is commonly used as a skirt along a trailer, wagon, truck bed, platform, or other float base. The cut strands move slightly in the breeze, helping the float look lively without distracting from the main decorations.
Two-ply fringe is especially useful for parade work because it offers more coverage than a single thin layer. The backing stays intact for fastening, while the cut fringe hangs down to hide the surface beneath it. It is a practical choice for covering uneven boards, open trailer rails, insulation foam, floral sheeting edges, and other parts of the build that are not meant to be seen.
Fringe can also do more than cover the bottom of a float. Use it to outline a stage-like platform, trim a display table, soften sharp corners, frame a themed scene, or add color bands around a trailer. A red, white, and blue fringe skirt works well for patriotic parades, while school colors can turn a simple flatbed into a spirited team float. For holiday floats, fringe often becomes the background that lets garland, letters, and larger themed pieces stand out.
Start With the Measurements, Not the Color
The most common fringe mistake is ordering by guesswork. Before selecting colors, measure the outside perimeter you plan to cover. Include every visible side of the trailer or platform, but do not automatically include areas blocked by a large prop, a ramp, or a vehicle cab.
Measure the length of each exposed side and add those measurements together. Then decide how many rows of fringe you need based on the height you want to cover. If the float base is 24 inches tall and your fringe is 12 inches wide, plan on at least two rows. Most builders overlap rows by a few inches so there are no gaps and the float has a fuller look.
Corners deserve special attention. Fringe can wrap around an outside corner, but it uses more material than a straight run. Add a little extra for each corner, for overlaps, and for areas where you may need to trim around steps, wheels, lights, or hitch equipment. Ordering a small amount extra is far easier than trying to finish a float with one bare spot showing the morning of the parade.
If you are covering a large trailer, sketch the sides on paper and write the measurements directly on the drawing. Mark where the driver enters, where riders climb aboard, and where safety equipment must remain accessible. This simple plan keeps the decorating crew working from the same measurements instead of making last-minute changes with scissors in hand.
How Much Fringe Should You Layer?
One row of fringe may be enough for a small wagon or a float that only needs a narrow trim. Most full-size parade floats look better with two or more overlapping rows. Layering hides the backing and adds depth, especially when the parade route includes wind, turns, and uneven roads.
A good rule is to install the bottom row first, then overlap the next row above it. The upper fringe should cover the fastening line of the row below. Continue upward until the entire base is covered. This direction matters. If the lower row overlaps the upper row, wind can catch the exposed backing and make the skirt look uneven.
Color layering can be simple or dramatic. A solid-color skirt gives a polished, unified look. Alternating school colors creates a bold stripe. Using one darker shade at the bottom and a brighter color above it can make the base appear taller and give the float more visual weight. The best choice depends on the rest of the design. If the float already has many detailed props and signs, a solid fringe color may keep it from looking too busy.
Attaching Float Fringe So It Stays Put
How you fasten fringe depends on the float surface. For wood, staples are often the fastest and most reliable option. Place staples along the uncut header area, not through the hanging strands. Space them closely enough that the fringe does not sag between attachment points.
On foam, cardboard, or lightweight construction panels, double-sided tape, hot glue, or adhesive may work for indoor displays or short events. For an outdoor parade, test your adhesive first. Heat, humidity, dust, and vibration can weaken a bond that seemed strong in a garage or school gym.
Zip ties are helpful when attaching fringe to trailer rails, wire frames, fencing, or other open structures. They also make it easier to remove materials after the event. If you use zip ties, keep the cut ends facing inward or covered so they do not catch on clothing or create a sharp edge near riders.
Avoid attaching fringe where it can interfere with wheels, brakes, trailer lights, reflectors, hitches, doors, or safe entry and exit. Fringe should look like part of the float, not become a hazard. Step back often during installation and check the float from street level. What looks straight from the trailer deck can look wavy from ten feet away.
Make the Skirt Look Full, Not Flat
The difference between an acceptable fringe skirt and a parade-ready one is usually in the finishing work. Keep the fringe gently stretched as you attach it, but do not pull it tight enough to distort the cuts. A relaxed, even hang looks fuller and covers better.
If a row has wrinkles or a gap, remove a few fasteners and reset it before moving on. Trying to hide a crooked bottom row with another row often creates more work. On long sides, have one person hold the roll level while another person staples or ties it in place. This keeps the header straight and prevents the fringe from gradually drifting upward or downward.
After the fringe is installed, fluff it by lightly separating any sections that have compressed during shipping or handling. Do not cut the strands apart aggressively. Most fringe opens naturally when it is gently shaken and allowed to hang.
For a cleaner finish at the top edge, cover the fringe header with floral sheeting, garland, a contrasting band of fringe, or another decorative border. This is particularly helpful when the float body is tall and the attachment line is visible from the sidewalk. It also gives you a natural place to carry your color scheme across the design.
Plan for Weather and Parade-Day Repairs
Outdoor parades bring surprises. A calm setup day can turn into a windy parade morning, and a float that sits outdoors overnight may collect moisture or dirt. Use enough fasteners for the conditions, especially along the front corners and rear edges where wind tends to pull hardest.
Keep a small repair kit on hand with extra fringe, scissors, a staple gun or zip ties, tape suited to your float surface, and a few spare decorations. If a section loosens, a quick repair can keep a small issue from becoming a long strip dragging near a tire.
It is also wise to install fringe after major construction is complete but before delicate finishing details go on. Once the skirt is in place, you can see the true proportions of the float and decide where additional flowers, pomps, signs, or garland will make the greatest impact.
Getting Help With Your Float Materials
Big parade projects rarely come together in a single afternoon. If you are unsure how much fringe to order, whether a color combination will read well from the street, or how to cover an unusual trailer shape, ask before you begin cutting and attaching. A quick measurement review can save material, money, and a late-night supply run.
ParadeFloatStuff.com has supplied float builders for generations, from school groups decorating a single trailer to committees preparing for major community events. No order is too small, and large projects deserve the same practical attention to quantities, timing, and finish details.
A well-installed fringe skirt gives your float a finished foundation and lets the rest of the design do its job. Measure carefully, build in a little extra material, and secure each row like the parade route will test it – because it usually will.