
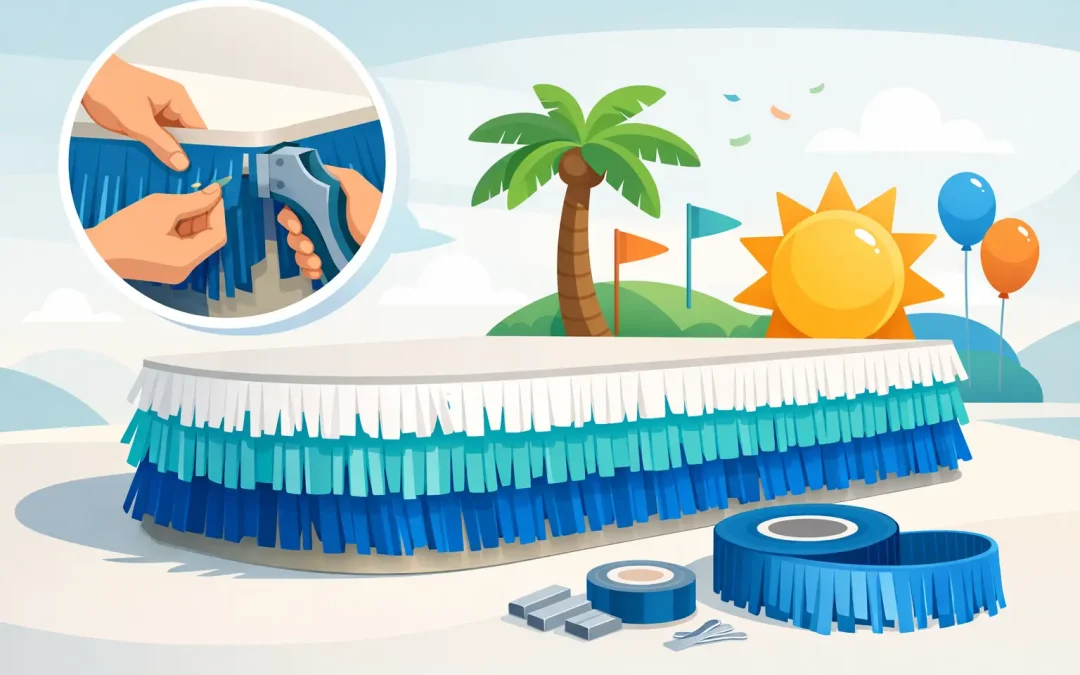
Float fringe can make a trailer, wagon, truck bed, or platform look finished in a hurry, but only if it stays where you put it. A loose bottom edge, visible staple line, or strip that catches the wind can distract from an otherwise great float. Knowing how to attach float fringe correctly gives your decoration clean lines, fuller color, and a better chance of looking just as good at the end of the parade as it did at lineup.
For most parade floats, the best approach is simple: attach fringe from the top, work in overlapping rows when needed, and use a fastening method that matches the surface underneath. Build your base covering first, then add fringe as the finished outer layer.
Start With a Clean, Covered Float Surface
Before you put up a single strip of fringe, inspect the surface you are decorating. Fringe attaches best to a dry, stable base such as corrugated cardboard, foam board, plywood, chicken wire backed with paper, or an existing layer of floral sheeting. If you are working on a trailer or vehicle, cover sharp metal edges and uneven areas first so they do not tear the material.
Floral sheeting, plastic rolls, or a similar base layer helps hide the construction surface and gives fringe something more consistent to sit against. It also means a small gap between fringe strips is less likely to show. Match the base color to the fringe when possible, especially on a dark float or a design that will be viewed up close.
Take a few minutes to wipe away dust, moisture, and loose debris. Adhesives do not hold well on a dirty surface, and staples can pull through soggy cardboard. If rain is expected, plan for mechanical fasteners rather than trusting tape alone.
How to Attach Float Fringe With Staples
Staples are the most dependable choice for attaching float fringe to cardboard, plywood, foam board, and wood-framed float panels. They are fast, affordable, and easy to hide under the next row of material. A standard hand stapler is usually enough for lightweight decorations, although an electric stapler can save time on a large build.
Hold the top uncut header of the fringe flat against the float. Place staples every 3 to 5 inches along that header. Do not staple through the cut fringe itself. The uncut band is there to carry the weight of the strip while allowing the cut sections to move freely.
When covering a long straight side, start at one end and pull the header gently straight as you go. You want the fringe smooth, not stretched tight. Stretching can make it pucker around corners or tear when the float moves down the road.
For a fuller look, add the next strip above the first one so the lower cut edge overlaps the header and staples below it. A 1- to 2-inch overlap usually hides the fastening line nicely. Continue upward until the entire panel is covered. This top-down layering matters because it lets the fringe hang naturally and sheds light rain better than rows installed in the opposite direction.
Stapling Around Corners
Corners are where fringe can look homemade if it is handled as one long, stiff strip. Instead, stop the strip at the corner and begin a new piece on the next side. Let each piece wrap just slightly around the edge, then staple it securely.
On a rounded corner, make small relief cuts in the uncut header only. Space the cuts an inch or two apart, then gently fan the header around the curve. Keep the cuts shallow enough that the strip still has plenty of strength along the staple line.
Use Wire or Zip Ties for Open Frames
If your float is built with chicken wire, fencing, wire mesh, or an open metal frame, staples are not an option. Floral wire, twist ties, or small zip ties will hold fringe securely without adding much bulk.
Lay the fringe header against the frame and run the wire through the header and around the supporting wire. Twist it on the back side, where possible, so the front stays neat. Place a tie every 4 to 6 inches, with extra ties at the beginning and end of each strip.
Zip ties are especially useful on metal railings, trailer racks, and temporary framework. Trim the tails flush after tightening them. A sharp zip-tie tail can snag a costume, scratch a volunteer, or catch another piece of decoration during transport.
Wire is more forgiving than zip ties when you need to adjust a strip, but it takes longer. For a large community float, use zip ties on the structural areas and save wire for small sections, curves, or detail work.
When Tape or Adhesive Makes Sense
Double-sided tape, glue dots, and spray adhesive can be helpful for lightweight indoor displays or quick touch-ups, but they should not be your only fastening method on an outdoor parade float. Wind, humidity, cold temperatures, and dusty surfaces can all weaken adhesive.
Tape works best for attaching a small fringe accent to a smooth, dry panel after the panel has already been secured to the float. It can also hold the end of a strip in place while you staple or wire the rest. For vehicle surfaces, avoid adhesives that may leave residue or damage paint.
If you use spray adhesive, apply it sparingly to the solid header area rather than the cut fringe. Press the header firmly into place, then reinforce it at intervals with staples, wire, or ties whenever the float will travel outdoors. Adhesive is useful support, not parade-proof insurance.
Magnetic tape is an excellent option when you’re attaching fringe to a metal trailer. Our ½‑inch magnetic tape provides a continuous, flexible mounting surface that grips firmly along steel rails and trailer edges without drilling or permanent fasteners. Apply it to a clean, dry metal surface, press the fringe’s top band onto the magnetic strip, and work your way around the trailer. Because the tape runs in one uninterrupted line, it keeps the fringe straight, evenly supported, and easy to reposition if you need to adjust the height or overlap. It’s especially useful for builders who want fast installation, clean removal, and a mounting method that won’t damage painted metal.
Measure Before You Cut
Measure the width and height of every area you plan to cover. For simple side panels, multiply width by the number of rows needed. Then add extra material for overlaps, corners, and last-minute repairs. A 10 percent allowance is reasonable for straight panels; complicated shapes and curved features may need more.
Avoid cutting all your fringe before you begin. Install one full row first to confirm the direction, overlap, and coverage look right from several feet away. This quick test can keep you from discovering too late that the strips are too short or that the base color shows through.
If you need to join two pieces in one row, overlap the ends by 1 to 2 inches instead of butting them together. Keep the overlap facing away from the main viewing side whenever possible. On a float seen from both sides, use a small overlap and fluff the fringe cuts with your fingers to disguise the seam.
Keep Fringe Secure During Transport and the Parade
A float may sit still during decorating, but it will face wind pressure as soon as it is moved. Check the leading edge of the float, exposed corners, wheel-cover areas, and any sections near fans, speakers, or moving props. These are the places most likely to lift or tear.
Use extra staples or ties at the top corners of each panel. Keep fringe well away from tires, axles, exhaust components, hitch hardware, and anything that gets hot or moves. Do not allow long strips to drag on the ground. Besides looking untidy, dragging material can become a safety hazard.
Before parade day, walk around the finished float with someone standing 15 to 20 feet away. That person can spot thin areas, crooked rows, visible fasteners, and gaps that are easy to miss while working close up. Pack spare fringe, a stapler, staples, wire, scissors, and zip ties for repairs at staging.
A Finished Look Comes From the Layers
Float fringe does not need complicated techniques to look professional. A secure top header, even staple spacing, clean overlaps, and a little extra attention at corners will do most of the work. Build from the bottom area upward, keep every fastening line hidden by the row above it, and make sure the material has room to move without pulling loose.
For first-time builders and longtime parade crews alike, good fringe work is one of those details that makes the whole float feel more complete. If you need help choosing enough material for your float size or matching fringe to your other decorations, the knowledgeable staff at ParadeFloatStuff.com is ready to help you plan before the decorating rush begins.