
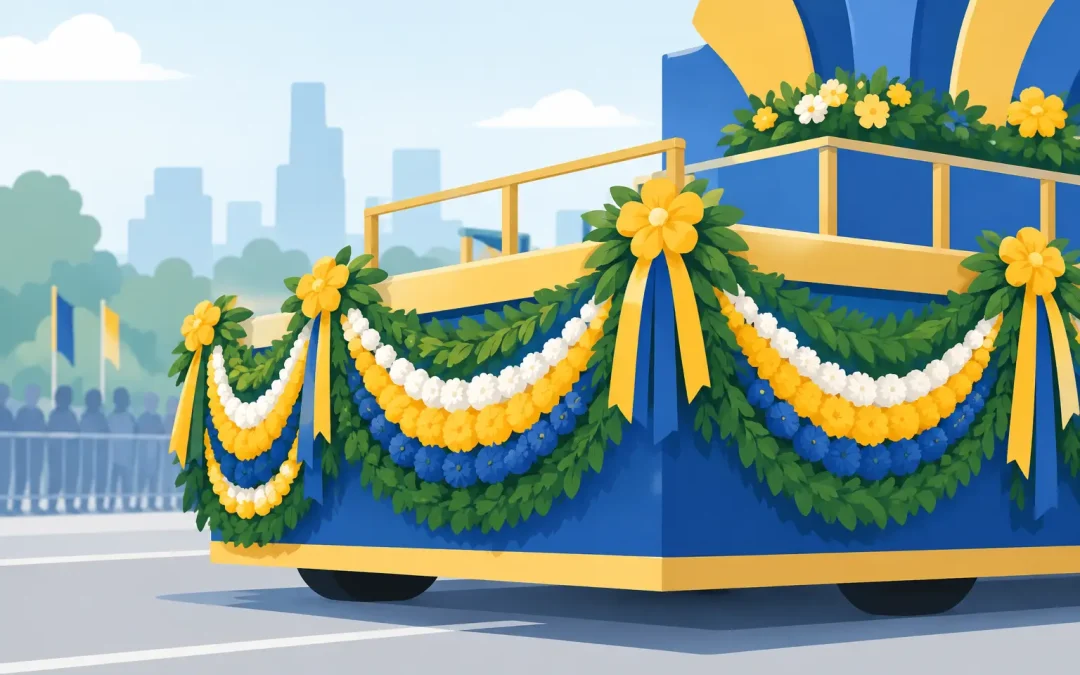
A good parade garland does more than fill an empty edge. It gives a float a finished outline, adds movement from the curb, and helps separate one color block from the next. When crowds see a float for only a few seconds, those sweeping lines around the skirting, signs, railings, and wheel wells can make the whole design easier to read.
Garland is also one of the more forgiving materials for volunteer-built floats. It covers staples, uneven seams, plywood edges, and the small construction details that do not belong in the final look. The key is choosing the right color, length, and placement before the build gets moving.
Where Parade Garland Makes the Biggest Difference
Festoon-style garland works best where a float needs a clear border or a bit of shape. Many builders run it along the bottom of the float body, around the top edge of the platform, or in swags across the front and sides. It can frame a banner, soften the corner of a trailer, or create a striped effect when two colors are layered together.
For a patriotic float, red, white, and blue garland can define each section without requiring a complicated structure. For Christmas, green garland around windows, railings, or a sleigh-shaped centerpiece quickly establishes the theme. Mardi Gras builders often use purple, green, and gold in alternating swags, while school and sports groups can use team colors to pull signs, fringe, and floral sheeting into one coordinated design.
The strongest use is usually not “put garland everywhere.” Too much of it can hide the main message or make a small float feel busy. Start by deciding what viewers should notice first: a school name, a church message, a mascot, a holiday scene, or a sponsor sign. Use garland to point toward that feature and finish the edges around it.
Choose Colors for the Parade Route, Not the Worktable
Colors look different outdoors than they do in a gym, garage, or fellowship hall. Strong sunlight makes bright colors pop, but it can flatten pale shades. Overcast weather can soften contrast, and a late-afternoon parade may make darker colors disappear into the trailer body.
If your base covering is dark, a bright or metallic-looking accent color creates a cleaner edge. If the float is covered in white or light floral sheeting, a deeper garland color gives the design definition. Contrasting colors are especially helpful for lettering, since they keep the float from becoming one large block of color.
It also helps to repeat each major color at least twice. A red garland border looks intentional when red appears again in letters, bows, fringe, or a focal prop. One isolated color can look accidental, particularly on a large trailer.
Match the Material to the Job
Garland is ideal for outlines, swags, and decorative transitions. It is not always the best choice for covering a large flat side of a float. Floral sheeting, fringe, or plastic rolls generally handle broad coverage more efficiently, while garland adds the detail that makes those materials look finished.
For example, cover the float skirt in floral sheeting, add fringe at the bottom for movement, then run garland along the top edge and around the sign. That combination gives the float layers without creating unnecessary work. It also helps volunteers see where one task ends and the next begins.
Measure Before You Order Parade Garland
The most common garland problem is not a bad color choice. It is running short after the float is already covered. Measure every run separately, including the front, both sides, rear, sign borders, railings, and any planned swags. Then add those measurements together before ordering.
For straight runs, allow extra length for corners and attachment points. A little extra is much easier to trim than a piece that stops two feet short. For swags, measure the actual drape rather than the straight-line distance from one attachment point to the next. A 6-foot straight span can require considerably more material if you want a deep, graceful curve.
Plan for a small overage as well. Extra garland is useful for covering a last-minute seam, replacing a damaged section, dressing a tow vehicle, or adding a matching touch to a walker’s sign. It depends on the design, but ordering a little more is usually less stressful than trying to match materials the day before a parade.
If you are working from a trailer size, sketch the float on paper and write each measurement directly on the drawing. This simple step prevents double-counting and gives your decorating crew a clear installation plan.
Attach It So It Stays Put
A parade float deals with wind, vibration, turns, and sometimes rain. Garland that looks secure in the parking lot can shift quickly once the float is moving. Attach it to a stable surface, not just to a loose layer of decorative covering.
Staples work well on wood edges and plywood-backed signs. Use enough attachment points to keep the garland from sagging between them, especially along the front of the float where wind pressure is strongest. For metal rails or areas where staples are not practical, zip ties or wire can provide a secure hold. Keep fasteners hidden inside the garland whenever possible.
Avoid relying on tape alone for exterior float decoration. Tape may be useful for a short indoor event or a temporary adjustment, but heat, moisture, and road movement can loosen it. If the float has a curved nose or rounded prop, secure the garland gradually as you shape it instead of pulling it tight from end to end.
Build in Sections for Easier Repairs
Long, continuous runs look nice, but they are harder to repair if one section gets damaged. On large floats, it is often smarter to install garland in manageable sections that overlap slightly. If a piece comes loose, your crew can fix that area without disturbing the entire side.
This approach is especially useful when different volunteers are decorating different parts of the float. Mark the start and stop points on the build plan, then give each crew a defined area. The finished result will still look continuous, but the work will be far easier to manage.
Layer Garland With Other Float Materials
The best float designs use texture with purpose. Garland has a fuller, more dimensional look than flat plastic or floral sheeting, so it naturally draws the eye. Use it to outline and accent rather than compete with every other material.
A simple, dependable combination is a floral sheeting background, fringe along the lower edge, bold foam-core lettering in the center, and garland framing the message. For more festive themes, add deco puffs at corners or where two garland colors meet. Glitter can add sparkle to letters and props, but it should support the design instead of covering every surface.
Layering also helps hide construction details. Run garland over the seam where the float skirt meets the deck. Wrap it around the base of a large prop to conceal braces. Add it around the edge of a sign to give lightweight foam-core letters a more substantial presentation.
Keep safety in view while decorating. Do not block the driver’s sightlines, cover lights, interfere with trailer connections, or create loose material near wheels. If riders will stand or sit near a garland-covered rail, make sure the decoration cannot catch on clothing or hands.
Order Early, but Know What to Do When Time Is Tight
Most parade groups have one person handling decorations alongside a dozen other responsibilities. That is why it pays to settle your color plan and measurements early, especially before major holiday parades when popular colors may be in high demand.
Still, last-minute needs happen. A float grows, a sign changes, or another organization joins the group. ParadeFloatStuff.com is built around the realities of those projects, with American-made float materials, direct-from-the-manufacturer pricing, and same-day shipping on qualifying orders placed before 2:30 PM Eastern. For large, custom-sized, or time-sensitive orders, a quick conversation with knowledgeable staff can save costly guesswork.
When your garland arrives, open it before decorating day. Confirm colors and quantities, then keep it clean and dry until installation. Assign one person to hold back a small reserve for final touch-ups. That reserve often becomes the material that makes a rushed repair disappear.
A float does not need an oversized budget or a professional production crew to look parade-ready. Give your main idea a clear outline, secure each piece for the road, and let the garland do what it does best: turn the edges of a working trailer into a finished celebration.