
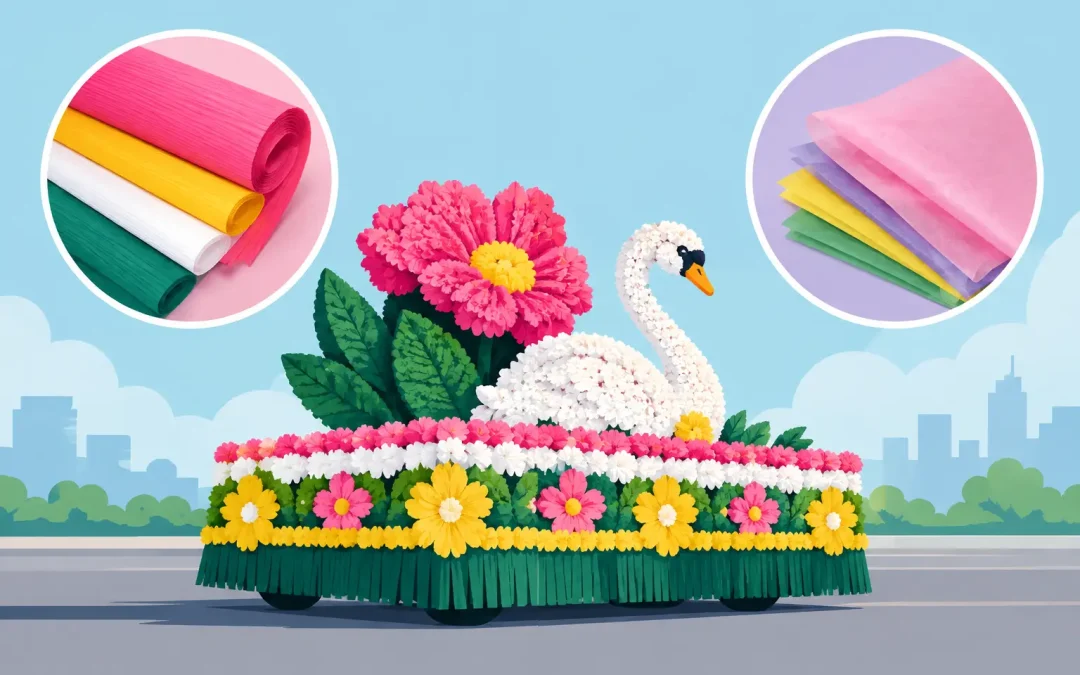
A parade float can look wonderful in the garage and tired before it reaches the first block if its covering cannot handle wind, moisture, and a full day of activity. That is the real question behind floral sheeting vs tissue paper. Both add color and texture, but they are made for very different jobs. Choosing the right one can save your volunteer crew from last-minute repairs and help your float look finished from the curb.
For most float builders, floral sheeting is the dependable choice for large exterior surfaces. Tissue paper still has a place, especially for lightweight accents and indoor projects, but it should not be treated as a substitute for a purpose-made float covering. The best material depends on where the float will travel, how long it must hold up, and what kind of look you want to create.
Floral Sheeting vs Tissue Paper: The Main Difference
Floral sheeting is designed to create broad, colorful coverage with the textured, flower-like appearance parade floats are known for. It is commonly used on float sides, trailer skirting, platforms, signs, props, and other large areas that need a consistent finish. Its texture catches the light and helps hide the plain surfaces underneath, including wood, cardboard, foam, and wire forms.
Tissue paper is a thin, lightweight paper product. It is easy to fold, twist, layer, and shape into small decorative details. It can work well for paper flowers, gift-style accents, classroom crafts, and protected interior displays. On a moving float, though, its thin construction is its limitation. Wind can tear it, rain can cause colors to bleed or paper to sag, and even dry tissue can lose its crisp appearance after repeated handling.
Think of floral sheeting as the outfit your float wears and tissue paper as a craft supply for selected details. One is built to cover; the other is best used to embellish.
When Floral Sheeting Is the Better Choice
If you are decorating the outside of a trailer, truck bed, wagon, or large platform, floral sheeting gives you a stronger starting point. It covers a lot of visual ground quickly, which matters when the float frame is larger than it looked on the sketch pad. Its gathered texture creates depth without requiring volunteers to attach hundreds of separate pieces.
Floral sheeting is also a practical choice when the forecast is uncertain. No float covering is completely worry-free in severe weather, and crews should always secure materials well and protect delicate details when possible. Still, floral sheeting is far better suited than tissue paper for normal parade conditions such as breezes, damp grass, light moisture, and the bumps of transport.
It is particularly useful when your design needs clean color blocking. A red fire truck float, a blue-and-white school spirit float, a green St. Patrick’s Day entry, or a patriotic display benefits from large, solid sections of color. Floral sheeting provides a more uniform background so lettering, fringe, garland, and props can stand out.
For time-sensitive projects, it also reduces labor. Volunteers can focus on measuring, attaching, and trimming large sections rather than making enough small tissue elements to cover a trailer. That difference becomes significant the night before the parade, when the crew is working around school schedules, weather delays, and a limited number of hands.
Where it works especially well
Use floral sheeting on areas people will see from a distance: float skirts, side panels, the base around a large prop, parade banners, and the background behind foam-core lettering. It is also a smart way to hide construction materials before you add your finishing details.
A float does not need to be covered in a single material from top to bottom. In fact, many of the strongest designs use floral sheeting as the base, then layer fringe, festoon, glitter, pomps, or themed shapes over it. The base stays visually consistent while the accents carry the theme.
When Tissue Paper Makes Sense
Tissue paper is not useless for parade work. It is simply more specialized. If your float will be displayed indoors, used for a short event in dry weather, or decorated with protected details, tissue paper can add softness and color at a low cost. It is also easy for younger volunteers to use in supervised craft projects.
It works best in small areas where it will not take the full force of the road or the weather. A tissue-paper flower inside a protected window opening, a decorative item for a booth, or a temporary accent on a hand-carried sign may be perfectly reasonable. Tissue can also be useful for making mockups before you commit to full-sized float materials.
The trade-off is durability. If rain is possible, tissue paper is usually the material you will spend the morning replacing. If the float must be driven at parade speed, tissue details need protection and careful attachment. And if you are covering a large area, the savings on a few packs of tissue can disappear once you factor in the extra labor, overlap, tape, and touch-ups.
For an outdoor float, avoid relying on tissue paper for the skirt, the main body covering, large vertical panels, or any spot exposed to wheels, foot traffic, or wind. Those are jobs for materials intended to stay put.
Plan Your Coverage Before You Order
The easiest way to avoid running short is to measure every surface you plan to cover, not just the overall trailer length. Measure the long sides, front, back, steps, railings, boxes, and any large props that will receive a full covering. Multiply each section’s length by its height, then add the areas together.
Next, allow extra material for overlap, corners, trimming, and mistakes. Float frames are rarely perfect rectangles, and floral sheeting needs a little room to wrap neatly around edges. A simple flat panel may need only a modest allowance. A float with wheel wells, curved forms, stair steps, or multiple color changes deserves more.
Before the full crew starts attaching material, lay out a small test section. This helps you decide the direction of the texture, see where seams will fall, and confirm that your chosen color works with the lettering and accessories. It is much easier to adjust a plan on one panel than after the whole float is covered.
Build the base first, then add personality
Start with the large coverage areas. Secure the floral sheeting to a clean, dry frame using the attachment method that suits your construction materials. Keep it snug enough that it will not flap, but do not pull so hard that the texture flattens or the material tears at a fastener. Work from one end to the other and smooth as you go.
Once the base is complete, add fringe along lower edges, garland around outlines, and lettering where it can be read from the sidewalk. Keep lettering high enough to clear people standing alongside the float and bold enough for viewers who only have a few seconds to see it. If tissue paper is part of the plan, reserve it for protected accents and attach it after the more durable materials are in place.
This order makes cleanup easier, too. When the main covering is secure, you can quickly spot bare areas, uneven seams, or places that need another layer before the decorative details hide the frame.
Choose for the Parade You Actually Have
A dry, indoor school event and a two-mile outdoor holiday parade are not the same project. Tissue paper may be enough for the first. Floral sheeting is the wiser choice for the second, especially when your group has spent weeks building props and arranging riders.
Budget matters, but so does the value of dependable materials. A covering that holds its color, hides the framework, and survives the route can prevent a lot of stress for organizers and volunteers. For larger or deadline-driven projects, ParadeFloatStuff.com can help builders think through coverage needs before materials are ordered.
Your float should spend parade day getting noticed for its theme, not for a torn covering. Choose floral sheeting for the surfaces that need to perform, save tissue paper for the details it can protect, and give your crew a finish they will be proud to see roll down the street.