
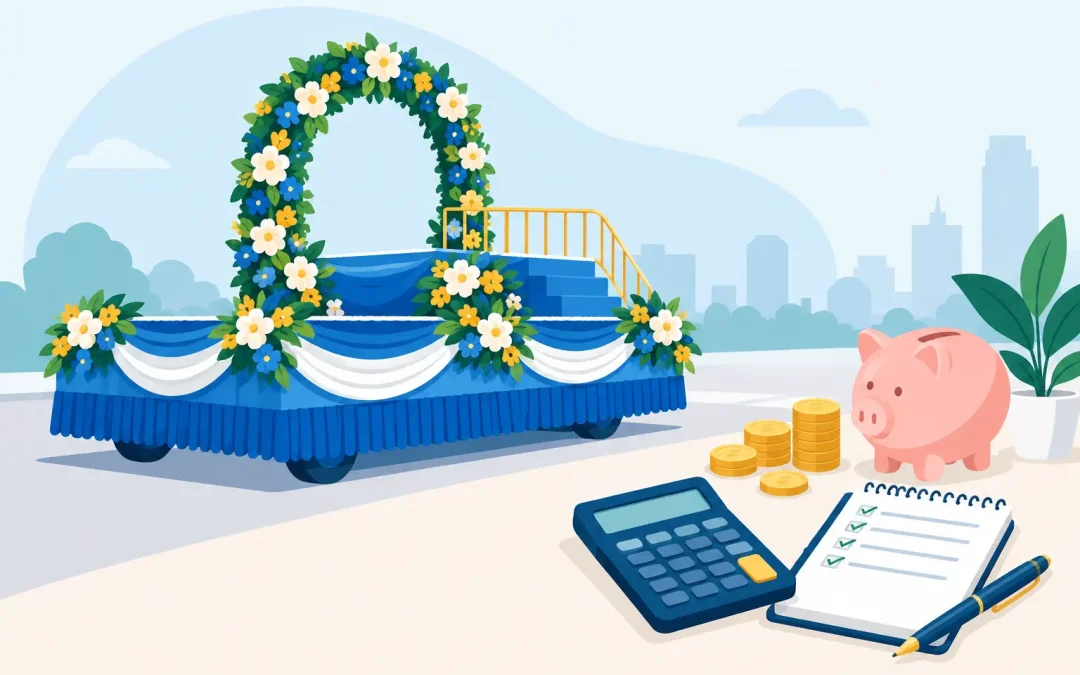
A parade float can look like a big-budget production without becoming one. The key to controlling float decorating cost is deciding where the crowd will look first, covering the structure correctly, and buying enough material the first time. A great float is not necessarily the one with the most decorations. It is the one with a clear idea, solid coverage, and details that still read from the curb.
For a school, church, civic group, or first-time float committee, the budget usually comes down to three questions: How large is the base? How much of it needs full coverage? How many featured details do you need to tell the story? Answer those before choosing colors or adding last-minute extras, and your money will go much further.
What Affects Float Decorating Cost?
The float decorating cost is driven more by coverage and construction than by the theme itself. A simple patriotic float on a large trailer may require more sheeting, fringe, and fastening supplies than an elaborate small pickup-bed display. Measure first, then design around the measurements.
Start with the visible square footage. Measure each side of the trailer, truck bed, platform, or frame that spectators will see. Multiply length by height for side panels, then add the front and back. If the top, wheel wells, railings, or a large backdrop will be decorated, include those areas as well. Add a little extra for overlap, wrapping corners, repairs, and trimming. Running short on a parade deadline is usually more expensive than having one unopened roll left over for the next event.
Material choice matters, too. Floral sheeting offers full, textured coverage and is often the foundation of a traditional parade-float look. Plastic rolls can cover large areas economically, especially when you need a smooth color field. Two-ply fringe adds movement along skirt lines, roof edges, signs, and railings. Festoon, deco puffs, glitter, and dimensional letters create the focal points that make the theme visible from a distance.
The largest cost difference often comes from how much detail you place across the entire float. Covering every surface with specialty materials can be beautiful, but it is not always necessary. A well-covered base with concentrated decoration around the theme, sponsor name, school mascot, or holiday message often gives a stronger result for less.
Build Your Budget From the Outside In
A practical float budget begins with the outside surfaces, not the props. If the base looks unfinished, even a clever centerpiece can get lost. Plan your materials in this order: coverage, edging, lettering, focal décor, then supplies for attaching everything securely.
1. Cover the float base
This is the part of the budget that should not be guessed. Decide whether each visible area needs floral sheeting, plastic, fringe, or a combination. Floral sheeting is a good fit when texture is part of the design or when you need to hide an uneven frame. Plastic rolls can be a smart choice for large, flat surfaces or backgrounds that will be layered with fringe and décor.
Use one primary color for most of the base, then reserve contrasting colors for borders and feature areas. Buying five or six colors because everyone has a favorite can raise costs quickly and make the finished float look busy. Two main colors plus an accent color is often enough.
2. Add movement at the edges
Fringe and festoon do a lot of visual work for the money because they create a finished silhouette. Use them where the float meets the road, around the top edge of the trailer, beneath signs, or around a platform. These areas are highly visible as the float moves past spectators.
You do not have to fringe every inch of every surface. If your trailer has long side panels, a full skirt line paired with a decorative top border may look more complete than scattered fringe in several places. Save specialty textures for areas that frame the design.
3. Make the message readable
Lettering deserves its own line in the budget. A float may have a wonderful concept, but if the audience cannot read the group name or theme, the message is lost. Foam-core letters are especially useful for names, dates, short phrases, and sponsor recognition because they create depth and are easier to see than flat paper signs.
Keep wording short. A parade audience has only a few seconds to take in the float. Large letters in a high-contrast color combination are generally more effective than a long slogan in small type. Budget for the letters early rather than treating them as an afterthought.
4. Spend the remaining funds on one focal point
Once coverage and lettering are handled, choose one area to carry the theme. That might be a large shamrock, a Christmas package display, a mascot, a float-sized birthday cake, or a patriotic star arrangement. Use deco puffs, garland, glitter, shaped panels, and layered colors where they will have the most impact.
This approach prevents the common mistake of buying many small decorations that do not show up from the street. One oversized, well-finished feature is usually more memorable than a dozen tiny props.
Sample Budget Levels for a Parade Float
Your actual material total will depend on current product prices, the size of your base, and the amount of coverage needed. Still, thinking in budget levels helps a committee make decisions before shopping.
A lean budget works best for a smaller vehicle, a walking unit with a decorated wagon, or a group that already has a painted platform. Focus on a clean base color, a skirt or border, simple lettering, and one featured shape. This plan keeps the design clear and reduces waste.
A mid-range budget is appropriate for a pickup, flatbed, or small trailer that needs full side coverage. It generally allows for a floral or plastic base treatment, fringe around visible edges, dimensional lettering, and a layered centerpiece. For many community groups, this is the sweet spot between curb appeal and affordability.
A larger budget makes sense for an annual parade entry, a long trailer, or a float that will be judged. Spend the extra dollars on complete coverage, stronger structural elements, multiple depth layers, and consistent finishing details. Even at this level, avoid adding materials simply because the budget is available. More decorations do not automatically create a better float.
If you need to present options to a committee, build three versions of the same design instead of three unrelated ideas. Show the essential version, the preferred version, and the fully detailed version. That makes it easy to remove extras without sacrificing the main concept.
Do Not Forget the Small Supplies
A decorating plan can fail over supplies that seem minor on paper. Include fasteners, wire, zip ties, staples, tape, glue, mounting board, and tools in your cost estimate. If a structure needs to be built or reinforced, account for that before spending the entire budget on decoration.
Weather is another consideration. Wind, rain, and road vibration can be hard on lightweight materials. Build in overlap, use appropriate attachment points, and check that signs and props are secured from more than one direction. A few extra fastening supplies are a small expense compared with rebuilding part of a float the morning of the parade.
Labor can also affect the real float decorating cost. Volunteers may donate their time, but they still need a workspace, a schedule, and enough hands for installation. Choose a design your group can realistically finish. A simpler float completed neatly is always better than an ambitious plan that is still half-covered at lineup time.
Ways to Lower Cost Without Making the Float Look Cheap
The best savings usually come from simplifying the design, not from using fewer materials everywhere. Use a consistent color plan, repeat the same border treatment, and purchase materials by the amount of coverage required rather than by impulse. If the float is viewed mainly from the sides, put your best materials and details there instead of decorating hidden surfaces.
Reuse what can be reused. Foam shapes, frames, letters, storage-safe props, and sturdy base pieces may serve your organization for several seasons with a fresh color treatment. Keep leftover fringe, unopened rolls, and extra décor organized by color after the parade. Next year’s budget may start with more on hand than you expect.
For large, time-sensitive projects, factory-direct materials and knowledgeable help can keep the plan from getting expensive through mistakes. ParadeFloatStuff.com has been helping builders work through coverage, colors, and quantities for generations, because no two float bases or parade deadlines are exactly alike.
When to Order Your Materials
Order as soon as the float size and theme are approved. Early ordering gives your team time to test colors, build props, and correct a measurement before decorating day. It also keeps the project from turning into a last-minute search for matching materials.
That said, parade planning is rarely perfect. If your event is close, prioritize the materials that create the finished base first: coverage, fringe, lettering, and attachment supplies. Decorative extras can be added after the essentials are on hand. Same-day shipping on qualifying orders placed before the daily cutoff can be a real help when timing is tight, but giving your volunteers more decorating time is even better.
A successful float budget is not about spending the least possible. It is about spending where spectators will notice, leaving room for the supplies that make the design hold together, and giving your group a plan it can complete with confidence before parade day.