
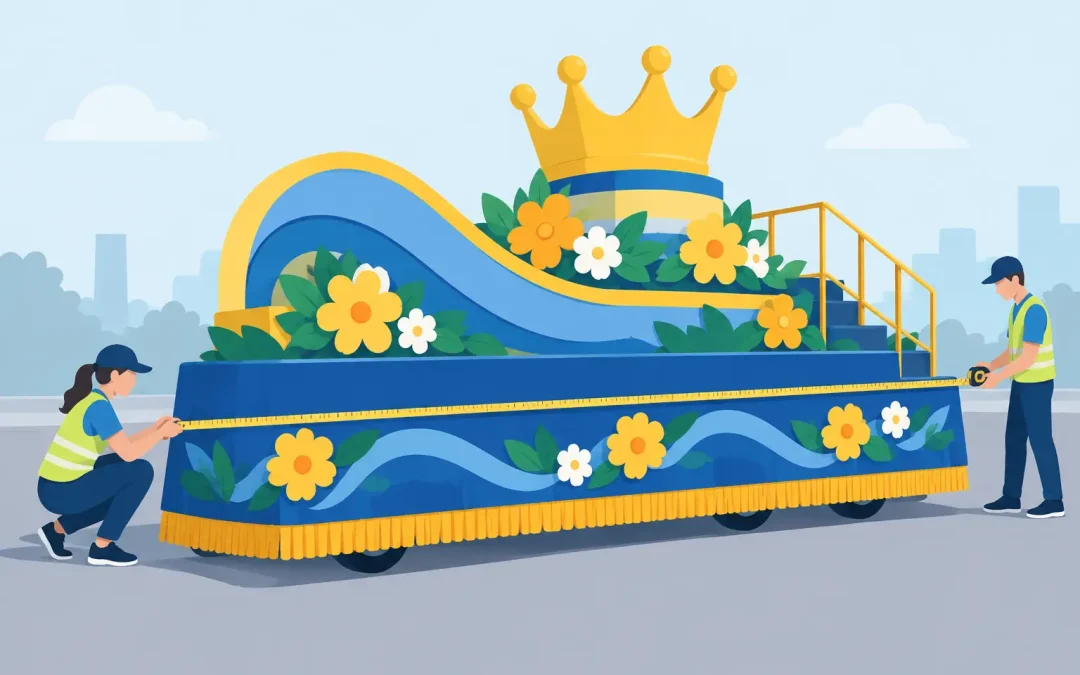
A float can look simple from the curb, but ordering decorations without a plan can leave you short on floral sheeting, fringe, or the one color you need most. Knowing how to measure a float before you place an order helps your group stay on budget, build with confidence, and avoid last-minute supply runs when parade day is getting close.
The good news is that you do not need architectural drawings. A tape measure, a rough sketch, and a few careful notes will give you the information needed to cover a trailer, truck bed, wagon, or platform. Measure the structure you are actually decorating, then measure each surface separately. That distinction saves a lot of material.
Start With the Finished Float Shape
Before pulling out the tape measure, decide what the finished outline will be. Are you covering only the trailer rails and side panels? Will plywood, cardboard, chicken wire, foam, or wood framing create taller walls, curved shapes, or a backdrop? A float that begins as a 16-foot trailer may become a 16-foot by 8-foot rectangular body with a 10-foot-tall rear display.
Sketch the float from the side, front, back, and top. It does not have to be pretty. Label the length, width, and height of every area that will receive decorations. Include wheel wells, steps, ramps, railings, tongue covers, and separate props if they will be covered in a different color or material.
Use feet and inches consistently. For example, write 12 feet 6 inches rather than switching between 12.5 feet and 12 feet 6 inches. When it is time to calculate quantities, round up rather than down. Decorations can be trimmed, but an uncovered corner is hard to hide.
How to Measure a Float Surface by Surface
The most reliable method is to treat every visible section as a separate rectangle, triangle, circle, or curved piece. Record its height and width, calculate the area, and add the sections together. Do not simply measure the trailer’s overall length and width and assume that number covers everything.
Measure the two sides
For each side panel, measure the full length from the front edge to the rear edge. Then measure from the bottom edge of the area to be covered up to the top edge. Multiply length by height.
A side that is 16 feet long and 3 feet high needs 48 square feet of coverage. If both sides are identical, double it to 96 square feet. If one side has a large wheel opening that will remain exposed, measure that opening and subtract its area. Many builders choose not to subtract small gaps, since extra material makes trimming and repairs easier.
Measure the front and back
Measure the width and height of the front and rear panels separately. These areas are often overlooked because they are smaller than the sides, but they are highly visible when the float turns a corner or is photographed head-on.
If your back wall rises above the trailer body, split it into sections. For instance, measure the lower rear panel, then the taller backdrop above it. If the top edge forms a triangle for a roofline or mountain shape, measure the base and height. A triangle uses one-half of base times height.
Measure the top only if it will show
A platform floor filled with riders usually does not need decorative coverage. However, a visible deck, a roof, or an open area around a centerpiece may need floral sheeting, plastic, turf, or another finish. Measure each exposed top surface by length and width.
Remember that railings, seating, and large props can hide part of the deck. It depends on your design. Measure what will be visible from the parade route, not every square inch of the trailer.
Add separate shapes and props
A castle tower, oversized present, school mascot, giant candy cane, or sponsor sign needs its own measurements. For a box-shaped prop, calculate each visible side. For a cylinder, such as a drum or column, measure around it with the tape measure to find the circumference, then measure its height. Circumference times height gives the amount needed to wrap the side.
Curves, arches, and scalloped edges are less exact. Measure along the curve with a flexible tape measure or a string, then lay the string beside a standard tape measure. Plan extra material for overlap and trimming around unusual shapes.
Match Your Measurements to the Material
Square footage is useful, but parade decorations are sold in rolls, sheets, strips, and pre-cut pieces. Before ordering, check the product width and length, then plan the direction each piece will run.
For floral sheeting or plastic rolls, decide whether the material will run horizontally or vertically. A 3-foot-tall side panel is often easiest to cover with a 3-foot-wide product running along the length of the float. That reduces seams. If your wall is taller than the material width, plan an overlap between rows so the base does not show through.
For fringe, measure the linear distance of the edge or band you want to cover. A 16-foot side needs 16 linear feet for one row of fringe. If you want three horizontal rows around both sides and both ends, add every run individually. Fringe is not calculated like flat sheeting because its coverage comes from its length, not its square footage.
Festoon/garland also use linear feet. Measure the path they will follow, including the dips if you plan swags. A straight 12-foot rail will need more than 12 feet of festoon if it is draped in a deep curve. Measure the actual intended path with string for the best estimate.
Foam-core lettering requires a different approach. Measure the available sign area first, then arrange the words on paper. Leave room between letters and around the edges. A short phrase in large letters is usually easier for spectators to read than a long message squeezed into a narrow panel.
Build in a Sensible Allowance
Most float projects need a little extra material. Seams overlap, ends wrap around corners, and volunteers may need to redo a section after wind, rain, or an enthusiastic rider catches a shoe on the fringe. For straightforward flat panels, adding 10 percent is usually a practical allowance. For curved frames, heavy layering, diagonal stripes, or detailed cutouts, allow 15 to 20 percent.
Do not overbuy without a reason. If you are covering a simple rectangular trailer with panels that match the roll width neatly, your waste may be low. On the other hand, a float with lots of windows, wheel wells, arches, and contrasting color blocks creates more offcuts. Your sketch will tell you which situation you have.
It also helps to order a small amount extra in the colors that form your background. Accent colors can often be adjusted, but a missing section of the main color is far more noticeable.
A Quick Sample Calculation
Suppose you are building a 14-foot-long trailer float with 3-foot-high side walls, 6-foot-wide ends, and no visible deck. Both side walls require 14 x 3 x 2, or 84 square feet. The front and back require 6 x 3 x 2, or 36 square feet. Your basic body total is 120 square feet.
Add 10 percent for overlap and trimming, bringing the working total to 132 square feet. If the floral sheeting you selected comes in 3-foot by 10-foot sections, each section covers 30 square feet before overlap. Five sections provide 150 square feet, which gives you enough material and a useful margin for corners.
Now measure trim separately. If one row of fringe goes around the bottom perimeter, calculate 14 + 6 + 14 + 6 for 40 linear feet. Add extra for overlap at the starting point and for any area that wraps around a hitch or step.
Check the Plan Before You Order
Lay out your measurements in one final list: background coverage by color, fringe by linear feet and color, garland or festoon by linear feet, lettering by message and size, and supplies such as staples, ties, tape, wire, or mounting board. Assign each item to a particular spot on the sketch. If an item does not have a location, pause before adding it to the cart.
Take a few photos of the bare trailer and keep them with your drawing. They help volunteers understand the plan and make it easier to spot a railing, fender, or hitch that was missed in the first measurement. For larger or time-sensitive projects, Parade Float Stuff’s knowledgeable staff can help you translate those measurements into practical quantities.
A careful measuring session may take an extra half hour, but it gives your volunteers a clear starting point and lets the decorating day feel like the fun part it should be.